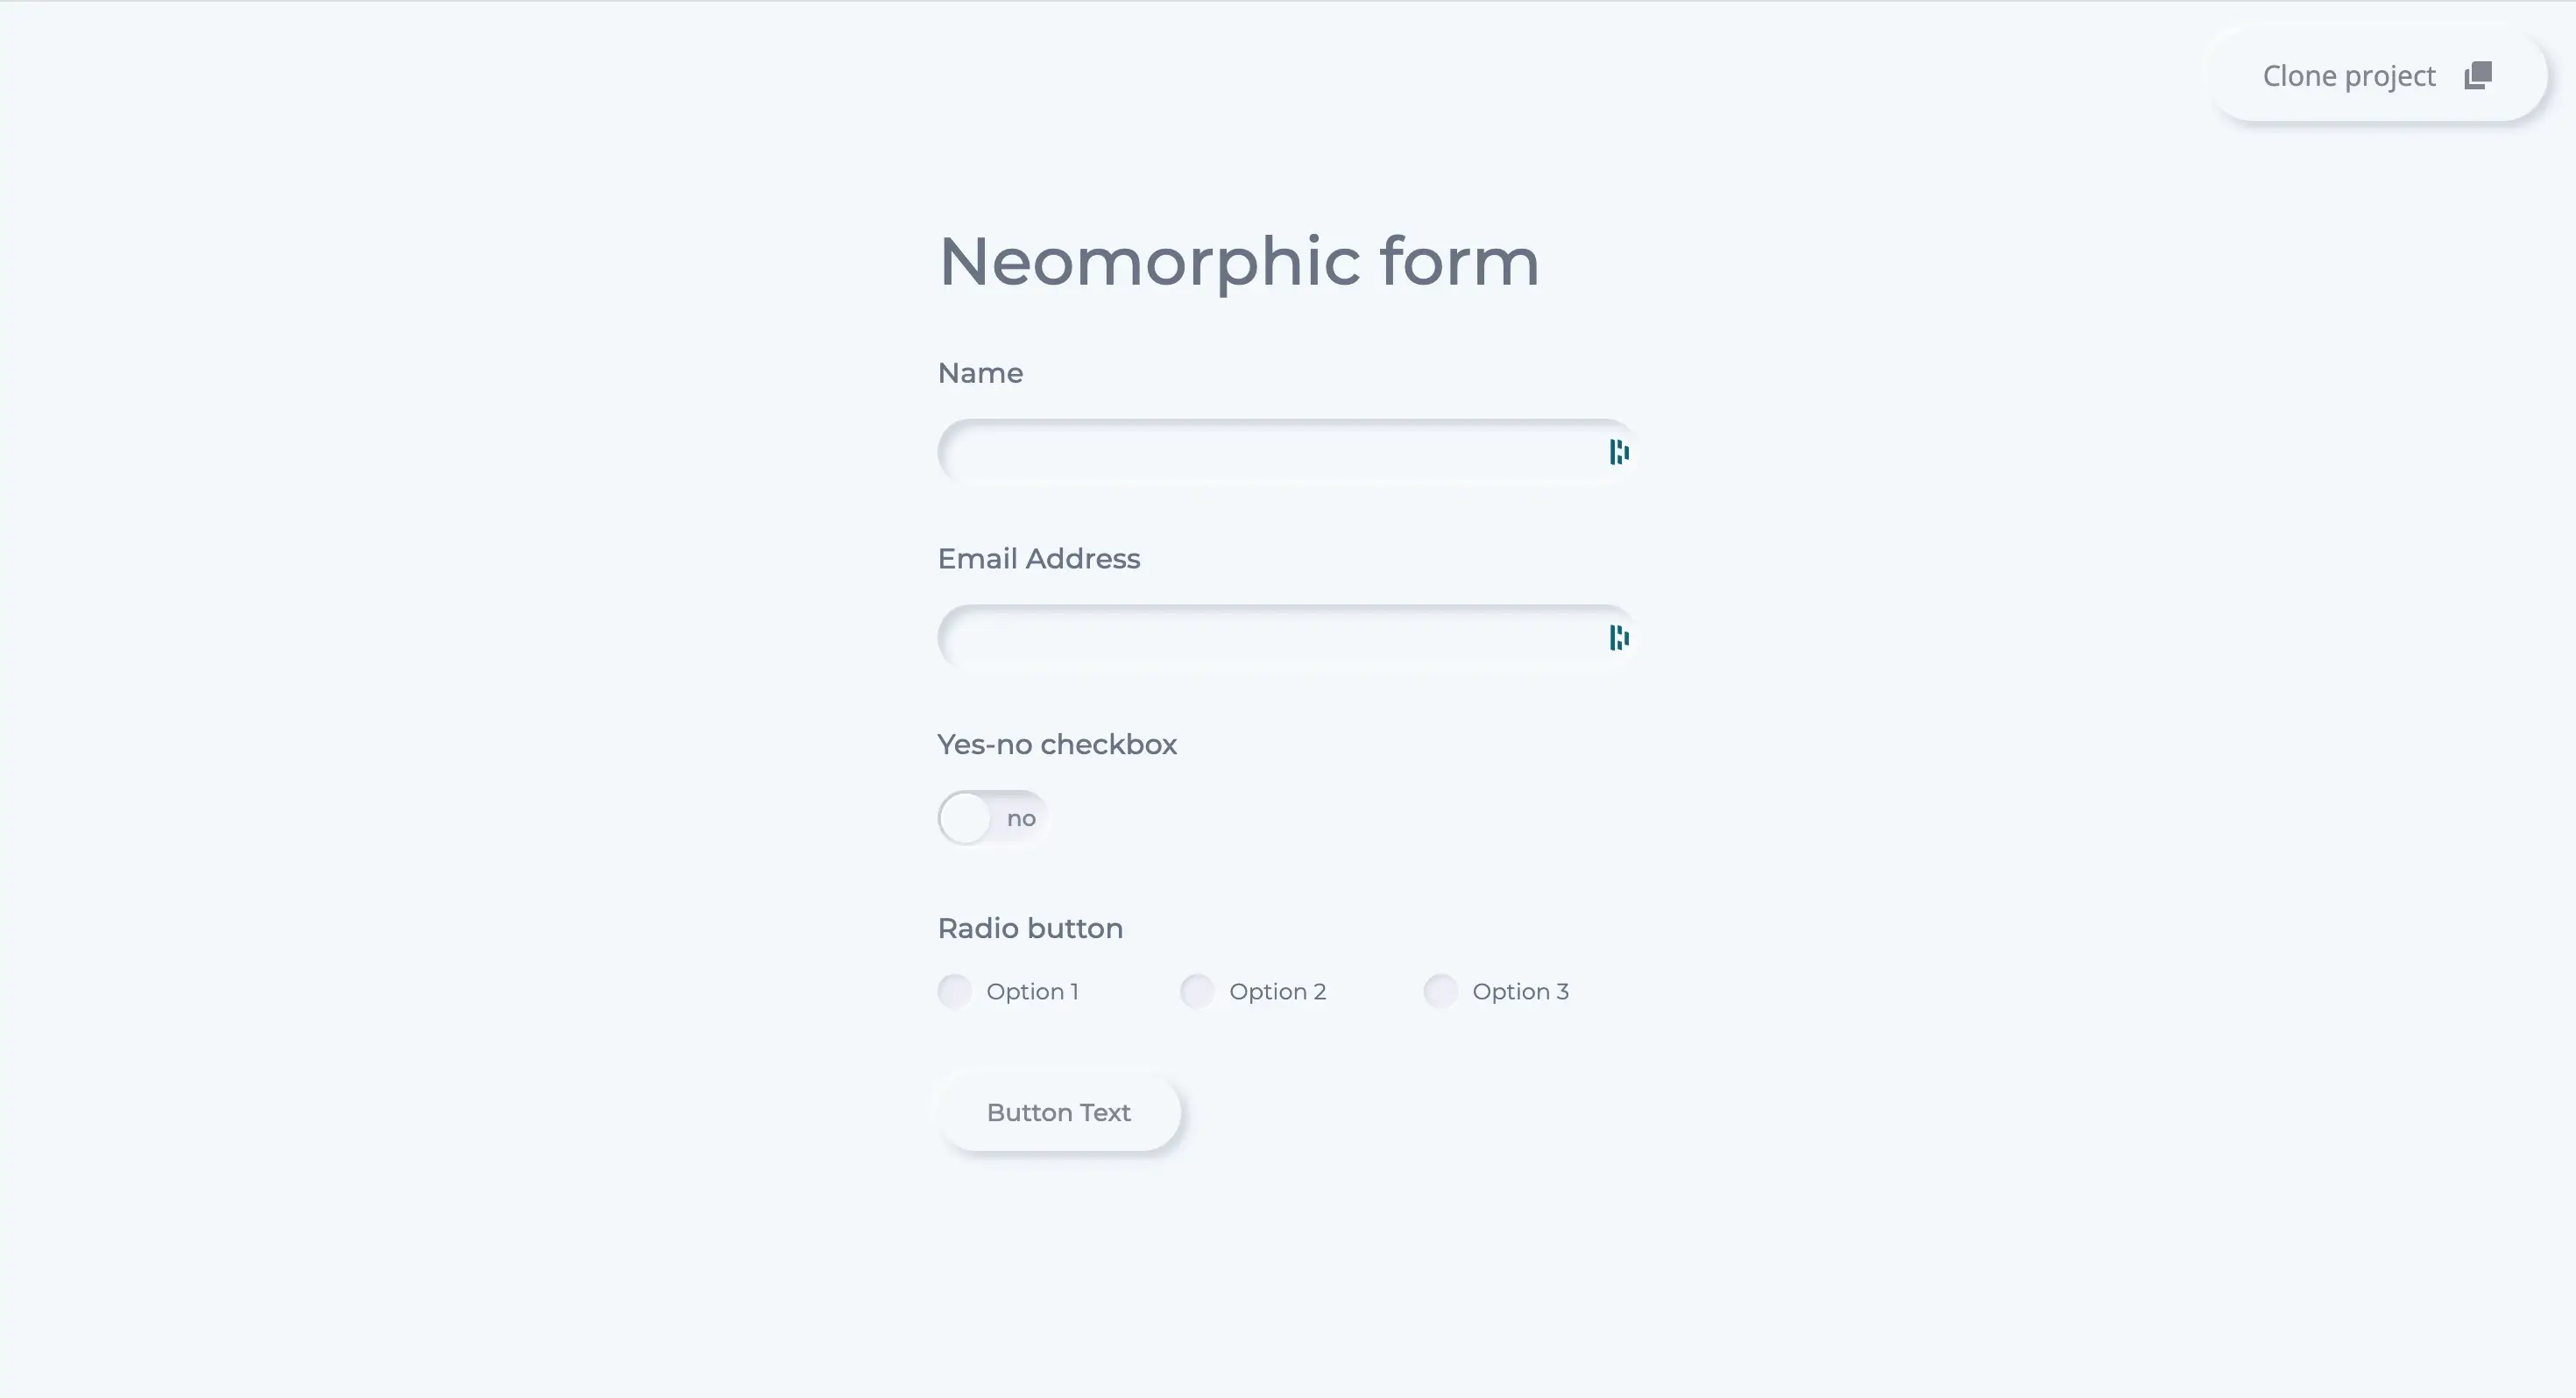
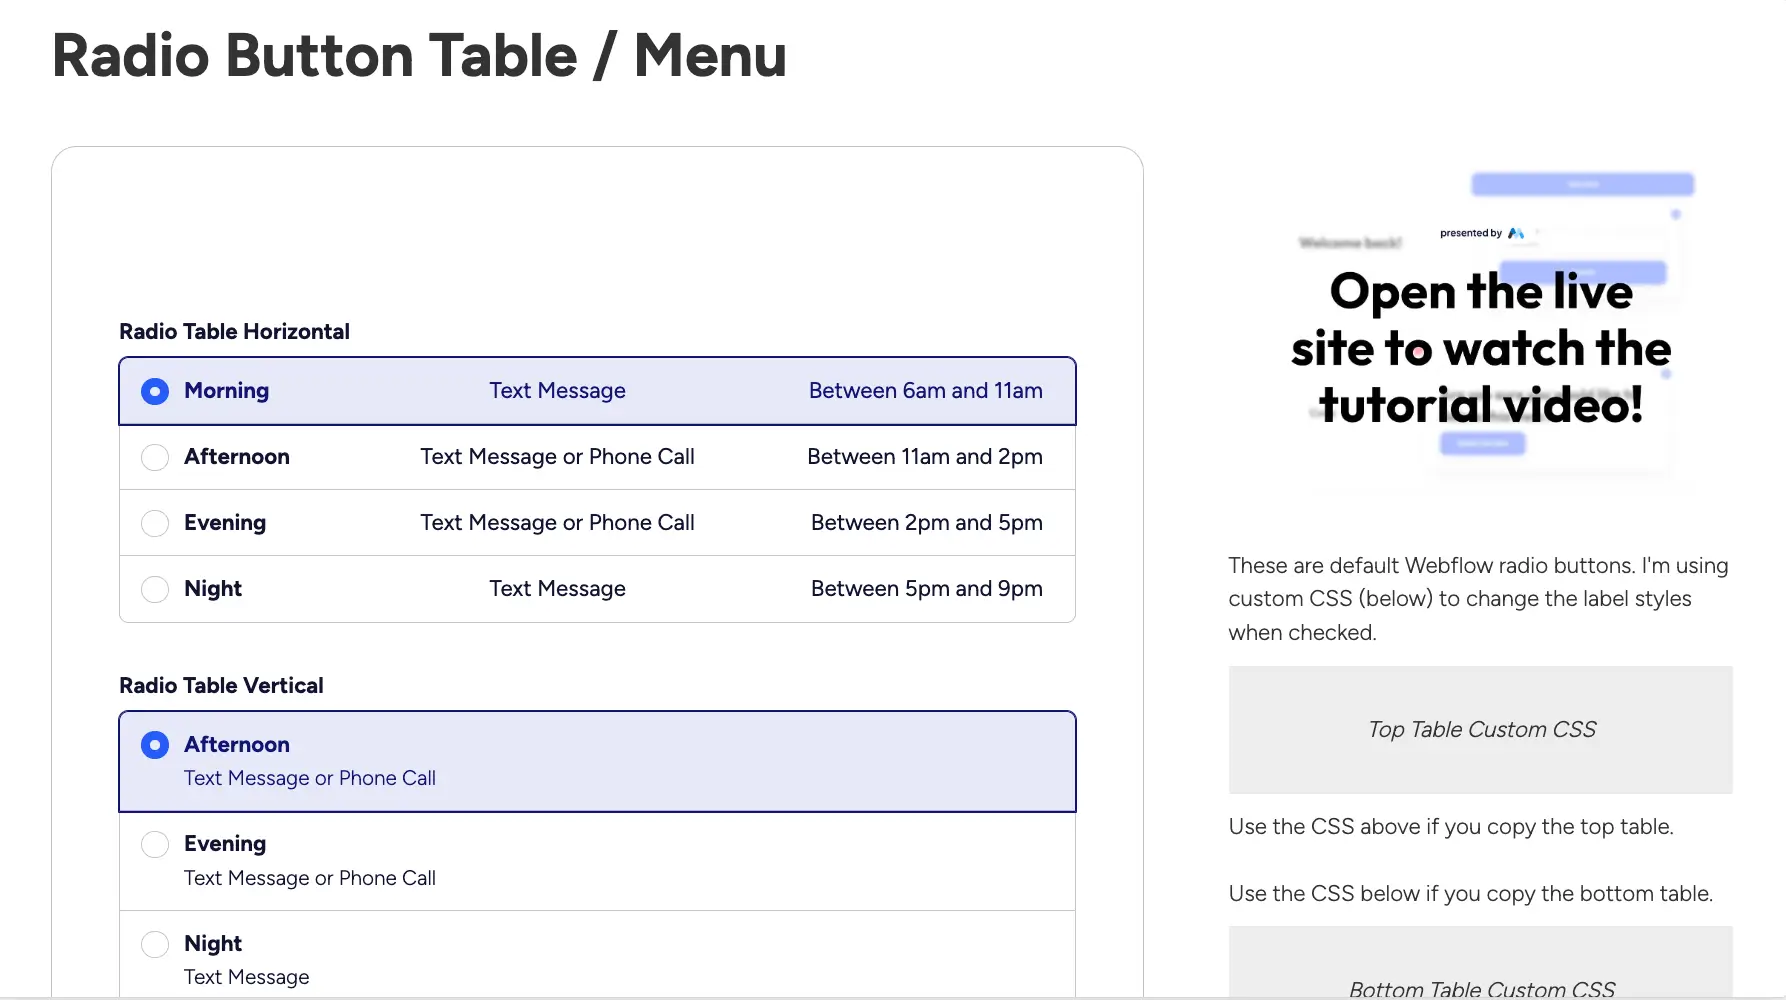
Les Radio buttons, also called Option boxes, play an essential role in Webforms, offering users the option of choosing a Only Option Among Several.
To Set Them Up, We Use the Element <input> With the Attribute type Set to “radio”. Each button must have a Id unique And share a Name Common Within a group. This ensures that only one option can be selected at a time, ensuring a smooth user experience.
It is strongly recommended to combine a <label> At each radio button, using the attribute For. This attribute should correspond toId Of the Button to Improve theAccessibility And the Ease of Use.
For an optimal structure, radio buttons are generally organized in a tag <fieldset> With a <legend> To describe the group. This approach helps to keep the forms Well-Structured And Attenuates Their Use By Screen readers.
This article from Synqro, our Webflow agency Will Guide You Step by Step To Integrate and Customize Radio Buttons In Webflow, following the Best practices To create forms Interactive And Accessible.
Why use radio buttons in Webflow?
Les Radio buttons Are essential elements in online forms, as they allow Exclusive selection. They offer an elegant and intuitive solution for presenting mutually exclusive options, while ensuring clear and structured data collection. Here is why they are essential in your Webflow projects:
Facilitate exclusive selection
Radio buttons ensure that the user can select Only One Answer among several choices. This is particularly useful in the following cases:
- Preference forms : Allow users to choose a language, contact method, or other exclusive preference.
- Surveys and Polls : Make the answers clear and unambiguous.
- Selection of payment methods : Guarantee that only one method is chosen to avoid errors in the ordering process.
By limiting the selection to a single option, you guide the user while simplifying the user experience.
Improving the user experience
The integration of radio buttons on your Webflow site considerably improves the user experience. Here's why:
- Intuitive interface : Radio buttons are easy to understand, reducing the cognitive effort required to make a choice.
- Responsive compatibility : Their adaptive design makes them easy to use on any type of device (computers, tablets, smartphones).
- Seamless browsing : Combined with clear labels and good prioritization, they allow the user to quickly fill out forms.
Collect clear and structured data
The radio buttons allow you to limit responses to a single option, which generates Consistent data And Easy to Analyze. This structure is particularly useful for:
- Statistical analyses : Get actionable answers without the risk of duplicates or ambiguities.
- CMS and database integration : The data from the radio buttons can easily be integrated into your content management systems or your analysis tools, such as Google Sheets or Zapier.

4 Steps to add radio buttons to your Webflow site
Follow these steps to integrate radio buttons into your Webflow projects:
1. Create a form
Start by creating a form in your Webflow project:
- Open It Webflow Designer and navigate to the page where you want to embed the form.
- Use the drag and drop tool to add an item Form Block To your page.
- Customize the fields according to your needs: text fields, email, or other required elements.
2. Add radio button item
Add radio buttons to your form:
- Drag an item Radio Button Field from the Webflow component library.
- Configure each button with Clear labels, which helps the user understand the choices available.
- To group multiple radio buttons, assign them a Group Name Same in the menu Settings. This ensures that only one button can be selected from each group.
You can also pre-select a default option to guide the user.
3. Customize the style of radio buttons
Customize the appearance of your radio buttons to match your graphic style:
- Use the Panel style To change the color, size, and typography of labels.
- Switch to “Custom” mode for advanced control via CSS and JavaScript. For example:
css
Copy code
input [type="radio “] {
  appearance: none;
  width: 20px;
  height: 20px;
  border: 2px solid #000;
  border-radius: 50%;
  cursor: pointer;
}
input [type="radio “] :checked {
  background-color: #3498db;
}
4. Test the operation of the radio buttons
Once your buttons are set up:
- Preview the page To check that only one button can be selected in each group.
- Test the styles, interactions, and readability of labels across browsers and devices.
Advanced customization of radio buttons in Webflow
Use custom code for unique styles
For advanced customizations, you can add Custom Code in Webflow. This makes it possible to integrate:
- Dynamic icons Next to the radio buttons.
- Animated Transitions to make the selection more engaging.
- Dynamic Style Changes Depending on the status (checked or not). JavaScript example:
javascript
Copy code
document.querySelectorAll ('input [type="radio “] ') .forEach (button => {
  button.addEventListener ('change', function () {
  this.parentElement.classList.add ('is-checked');
  });
});
Adapting radio button design to branding
Make sure that your radio buttons fit perfectly into the visual identity of your site. Here are a few tips:
- Change the Color palette to reflect your branding.
- Adopt Consistent labels with the typography of your site.
- Use pre-designed components like those offered by Input Flow, which speed up personalization.
Tips to improve the accessibility of radio buttons
TEAAccessibility Is a priority in web design. Here's how to make your radio buttons accessible:
- Associate Explicit Labels : Each button must be linked to a
<label>Via The AttributeFor. - Use ARIA attributes : Add
Aria-CheckedTo transmit the selected status to screen readers. - Keyboard navigation test : Users should be able to navigate between options with the keys Tab And Entree.

Conclusion on Radio buttons in Webflow
Radio buttons are essential elements for creating interactive and intuitive forms in Webflow. By following the steps outlined, you can:
- Integrate radio buttons easily.
- Personalize their design to reflect your visual identity.
- Ensuring their accessibility for all users.
To go further, our Webflow agency, Synqro, specialized in the design of sites optimized for UX and SEO, is there to support you. Whether it's for complex projects or tailor-made solutions, we help you turn your ideas into engaging digital experiences.
Take action! With the right tools and expert support, you are in a position to create forms that improve the user experience while collecting quality data.
FAQ: All you need to know about radio buttons in Webflow
1. What is a radio button in Webflow?
A radio button is an interactive element that allows the user to choose only one option among several available in a form. In Webflow, these buttons are easy to integrate and can be customized to adapt to the design of your site.
2. Why use radio buttons in a Webflow form?
Ease of use
Radio buttons offer an intuitive interface for making exclusive choices, perfect for forms such as surveys or preferences.
Data structure
The data collected via these buttons is clear and well-structured, facilitating their processing.
Customizable design
Thanks to Webflow's features, you can customize buttons to match your brand's visual identity.
3. How do I add radio buttons in Webflow?
Step 1: Add a form
Go to your tool board, select the “Form Block” element, and drop it on your page.
Step 2: Insert radio buttons
Inside the form, add the “Radio Button Field” element. You can add it as many times as needed for your various options.
Step 3: Set up your options
Ensure that each radio button group shares the same name attribute to ensure that only one choice can be selected.
Step 4: Test your buttons
Before publishing, make sure that your buttons work properly and that only one can be selected per group.
4. How do I customize radio buttons in Webflow?
Basic style
In the style panel, change the color, size, or typography to align the buttons with your graphic design.
Custom Code for advanced styles
For more complex customizations, add CSS rules in the code integration panel. For example:
css
Copy code
input [type="radio "] {
  appearance: none;
  width: 20px;
  height: 20px;
  border: 2px solid #000;
  border-radius: 50%;
  display: inline-block;
  cursor: pointer;
}
input [type="radio "] :checked {
  background-color: #ff6600;
}
Accessibility and responsive design
- Accessibility : Make sure that each radio button has a descriptive label through the use of elements
<label>. - Responsive design : Test your buttons on different resolutions to ensure a good user experience on mobile and desktop.
5. Can we animate radio buttons in Webflow?
Yes, thanks to Webflow's animations and interactions. You can add transitions to make a change in state (checked/unchecked) more dynamic.
Example: Add an interaction that changes the color of the button when selected.
6. What are the advantages of a personalized radio button design?
A custom design reinforces the visual coherence of your site and improves the user experience. Users often find aesthetic interfaces more engaging.
7. How to improve the accessibility of radio buttons?
Tip 1: Add text labels
Use beacons <label> associated with radio buttons so that users with screen readers can navigate easily.
Tip 2: Check the contrasts
Ensure that there is sufficient contrast between the button and the background for visually impaired users.
Tip 3: Keyboard navigation
Test your radio buttons to check that they can only be used with a keyboard (Tab and Enter keys).
8. What is the difference between a radio button and a checkbox?
- Radio button : Allows you to select only one option from several.
- Checkbox : Allows you to select several options simultaneously.
9. Are the radio buttons in Webflow optimized for SEO?
Indirectly, yes. By optimizing the user experience with clear and accessible buttons, you reduce the bounce rate and improve the time spent on your site, positive indicators for SEO.
10. How do I test radio buttons after integrating them?
- Check the behavior : Ensure that only one button per group can be selected.
- Test form submission : Verify that the data selected is sent correctly.
- Simulate different browsers and devices : Test your buttons on Chrome, Safari, Firefox and on mobile.
11. Can we add scripts to enrich the functioning of radio buttons?
Yes, JavaScript scripts can be used to add features like real-time validation or dynamic content change based on user choice. Example:
javascript
Copy code
document.querySelectorAll ('input [type="radio "] ') .forEach (button => {
  button.addEventListener ('change', function () {
  alert (`You selected: $ {this.value} `);
  });
});
12. What are the best use cases for radio buttons?
- Feedback forms
- Survey Pages
- Order forms (choice of sizes, colors, etc.)
- User account settings
13. Can radio buttons be used in Webflow's CMS Collections?
Not directly. However, with custom integrations or tools like Zapier or Make (Integromat), you can automate actions based on user selections.
14. Are radio buttons compatible with 3rd party integrations?
Yes, radio buttons work well with integrations like HubSpot, Mailchimp, or Zapier. Ensure that your data is mapped correctly for optimal synchronization.
15. Radio buttons or dropdown menus: what to choose?
- Radio buttons : Ideal for displaying all options directly and allowing a quick choice.
- Dropdown menus : Prefer them if you have a lot of options and want to save space.


Synqronisons-nous !
Parlez de votre projet à un expert Webflow dès aujourd’hui !


